
[Android] CollapsingToolbarLayout 처럼 MotionLayout 사용하기
이 글은 그러한 UI를 구현하기 위한 삽질의 결과물을 정리한 것입니다.
우선 구현하고자 하는 UI를 살펴봅니다.
원하는 UI
- 기본적인 툴바 형태로 타이틀 및 우측 메뉴가 있습니다.
- 스크롤을 통해 앱바가 변경될 때, 타이틀과 메뉴가 모두 앱 바의 중간에 위치합니다.
- 타이틀은 사이즈만 줄어들 뿐 마진은 그대로입니다.
CollapsingToolbarLayout을 이용하여 최대한 삽질한 UI
위의 UI를 보고 ‘툴바가 있고, 접혔다 펼쳐질 수 있네, 그러니 CollapsingToolbarLayout을 사용해야겠다.’는 생각을 했어요. 그래서 CollapsingToolbarLayout을 이용하여 UI를 만들었습니다.
속성을 이것저것 적용하여 최대한 비슷하게 만든다고는 하였으나, 미묘하게 다른 결과물이 나왔습니다.

차이?
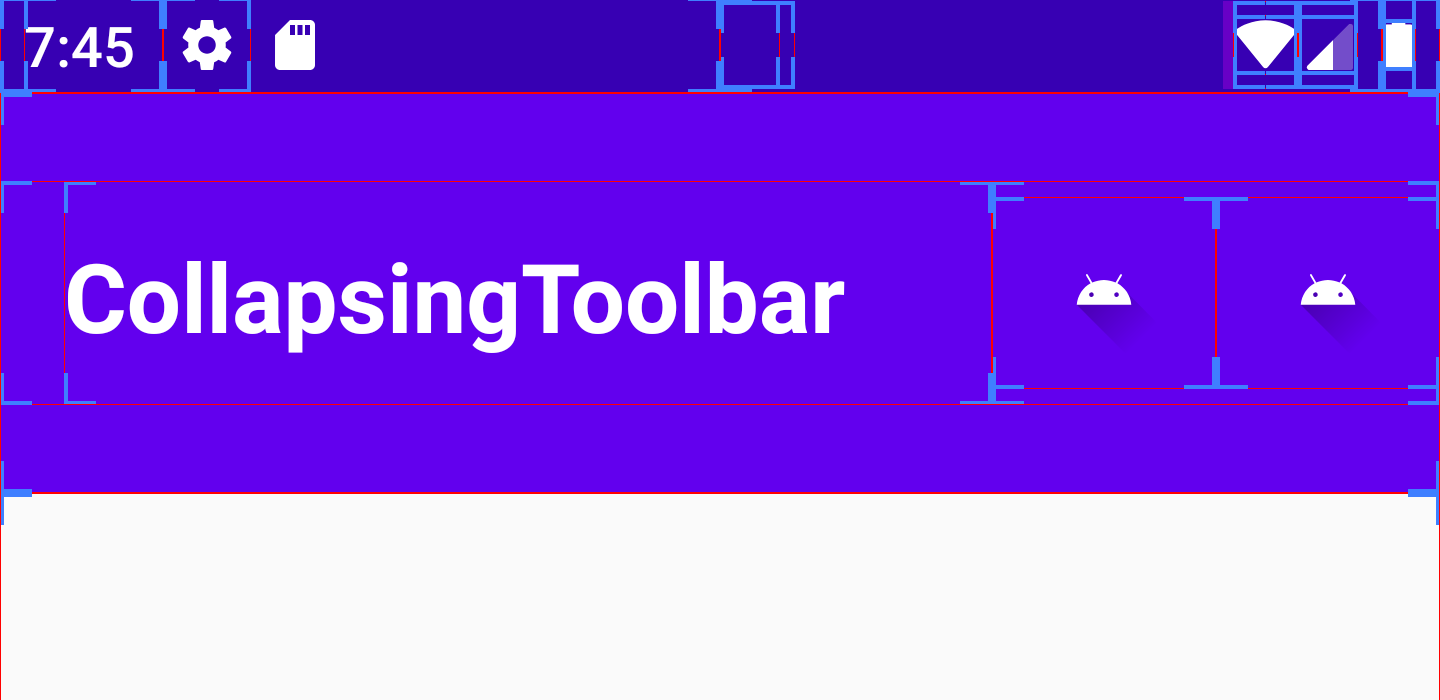
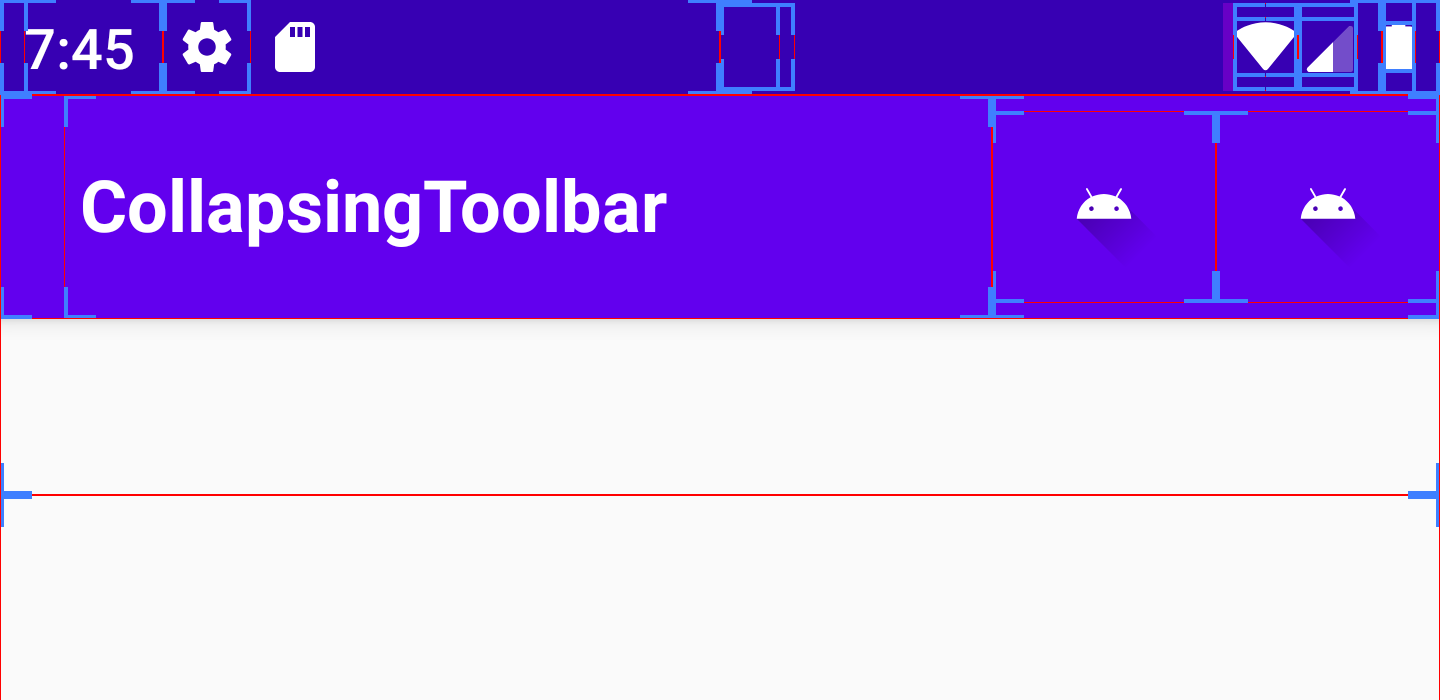
차이가 보이시나요? layout bound를 표시한 후 확인해보았습니다.
CollapsingToolbarLayout을 이용한 결과에서는, 앱바가 접혔을 때 타이틀 좌측에 여백이 생기는 것을 확인 할 수 있어요.
| Expanded | Collapsed |
 |
 |
거슬립니다. 이제 MotionLayout을 이용하여 원하는 UI를 만들어보도록 하겠습니다.
(사실 MotionLayout 써보고 싶었어요.)
MotionLayout 사용하기
MotionLayout은 애니메이션 처리를 도와주는 레이아웃입니다. MotionLayout의 기본적인 사용법은 안드로이드 공식페이지를 참고해주세요.
CollapsingToolbarLayout은 이를 감싸는 AppBarLayout의 스크롤 offset 값의 변화에 따라 자식 뷰와 타이틀에 변화를 줍니다. MotionLayout 또한 progress 값으로 애니메이션 진행을 조절할 수 있습니다.
CollapsingToolbarLayout을 사용했을 때와 동일하게 스크롤 상태에 따라 MotionLayout 애니메이션 진행을 조절하기 위해서, 다음 구조는 동일하게 유지합니다.
<CoordinateLayout>
  <AppBarLayout>
    <!-- CollapsingToolbarLayout 의 위치 -->
  </AppBarLayout>
</CoordinateLayout>
이제 CollapsingToolbarLayout을 대신할 MotionLayout을 만듭니다.
이 MotionLayout은 AppBarLayout의 offset 값이 변경되면, 이를 progress로 변환합니다.
class MotionCollapsingToolbarLayout @JvmOverloads constructor(
    context: Context,
    attr: AttributeSet? = null,
    defStyle: Int = 0
) : MotionLayout(context, attr, defStyle), AppBarLayout.OnOffsetChangedListener {

    override fun onOffsetChanged(appBarLayout: AppBarLayout?, verticalOffset: Int) {
        val totalRange = appBarLayout?.totalScrollRange?.toFloat() ?: 0f
        val newProgress = if (totalRange > 0f) (-verticalOffset / totalRange) else progress
        if (newProgress != progress) progress = newProgress
    }

    override fun onAttachedToWindow() {
        super.onAttachedToWindow()
        val appBarLayout = parent as? AppBarLayout
        appBarLayout?.addOnOffsetChangedListener(this)
    }

    override fun onDetachedFromWindow() {
        super.onDetachedFromWindow()
        val appBarLayout = parent as? AppBarLayout
        appBarLayout?.removeOnOffsetChangedListener(this)
    }
}
MotionCollapsingToolbarLayout을 CollapsingToolbarLayout 위치에 넣고, Toolbar와 TextView를 추가합니다.
<CoordinateLayout>
  <AppBarLayout>
    <MotionCollapsingToolbarLayout>
      <Toolbar/>
      <TextView/>
    </MotionCollapsingToolbarLayout>
  </AppBarLayout>
</CoordinateLayout>
CollapsingToolbar에서는 TextView를 별도로 추가하지 않아도 자체적으로 타이틀을 그려주었지만, 위에서 만든 MotionCollapsingToolbarLayout은 불가능하기 때문에 TextView를 추가하였습니다.
이제 MotionCollapsingToolbarLayout에 적용할 description.xml을 만들어 보겠습니다.
<MotionScene xmlns:android="http://schemas.android.com/apk/res/android"
    xmlns:app="http://schemas.android.com/apk/res-auto">

    <ConstraintSet android:id="@+id/start">
        <Constraint
            android:id="@id/toolbar"
            android:layout_width="match_parent"
            android:layout_height="100dp"
            app:layout_constraintBottom_toBottomOf="parent"/>

        <!-- from 24sp -->
        <Constraint
            android:id="@+id/title"
            android:layout_width="match_parent"
            android:layout_height="wrap_content"
            android:scaleX="1.0"
            android:scaleY="1.0"
            android:transformPivotX="0dp"
            android:transformPivotY="12dp"
            android:layout_marginStart="16dp"
            app:layout_constraintBottom_toBottomOf="@id/toolbar"
            app:layout_constraintStart_toStartOf="parent"
            app:layout_constraintTop_toTopOf="@id/toolbar" />
    </ConstraintSet>

    <ConstraintSet android:id="@+id/end">
        <Constraint
            android:id="@id/toolbar"
            android:layout_width="match_parent"
            android:layout_height="?attr/actionBarSize"
            app:layout_constraintBottom_toBottomOf="parent"/>

        <!-- to 18sp -->
      	<Constraint
            android:id="@+id/title"
            android:layout_width="match_parent"
            android:layout_height="wrap_content"
            android:scaleX="0.75"
            android:scaleY="0.75"
            android:transformPivotX="0dp"
            android:transformPivotY="12dp"
            android:layout_marginStart="16dp"
            app:layout_constraintBottom_toBottomOf="@id/toolbar"
            app:layout_constraintStart_toStartOf="parent"
            app:layout_constraintTop_toTopOf="@id/toolbar" />
    </ConstraintSet>

    <Transition
        app:constraintSetEnd="@id/end"
        app:constraintSetStart="@id/start" />
</MotionScene>
애니메이션을 원하는 뷰는 Toolbar, TextView 입니다.
- Toolbar는 높이를 펼쳤을 때 값 ~ 접혔을 때 값 으로 변경되게끔 합니다.
- TextView는 scale을 통해 텍스트 사이즈가 변경되도록 합니다.
그리고 MotionCollapsingToolbarLayout에 적용합니다.
...
<MotionCollapsingToolbarLayout
    	app:layoutDescription="@xml/description"
       ...>
</MotionCollapsingToolbarLayout>
...
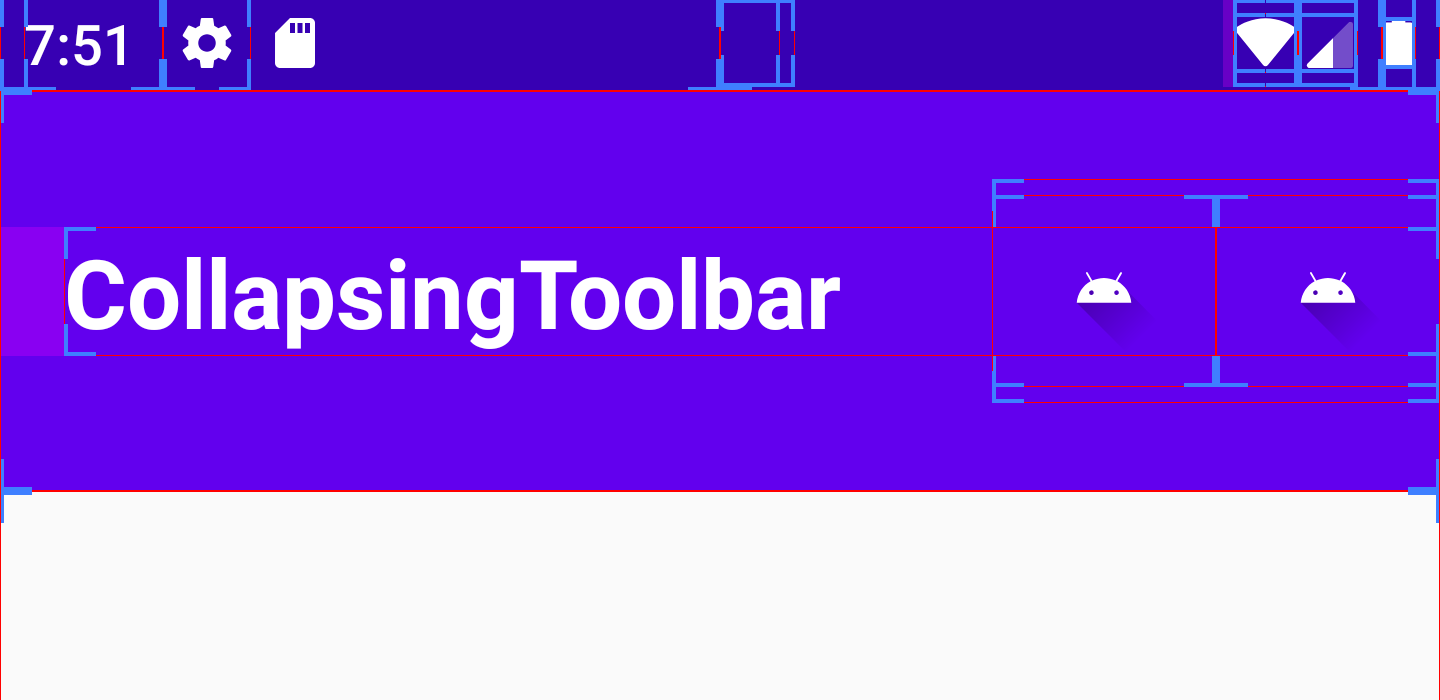
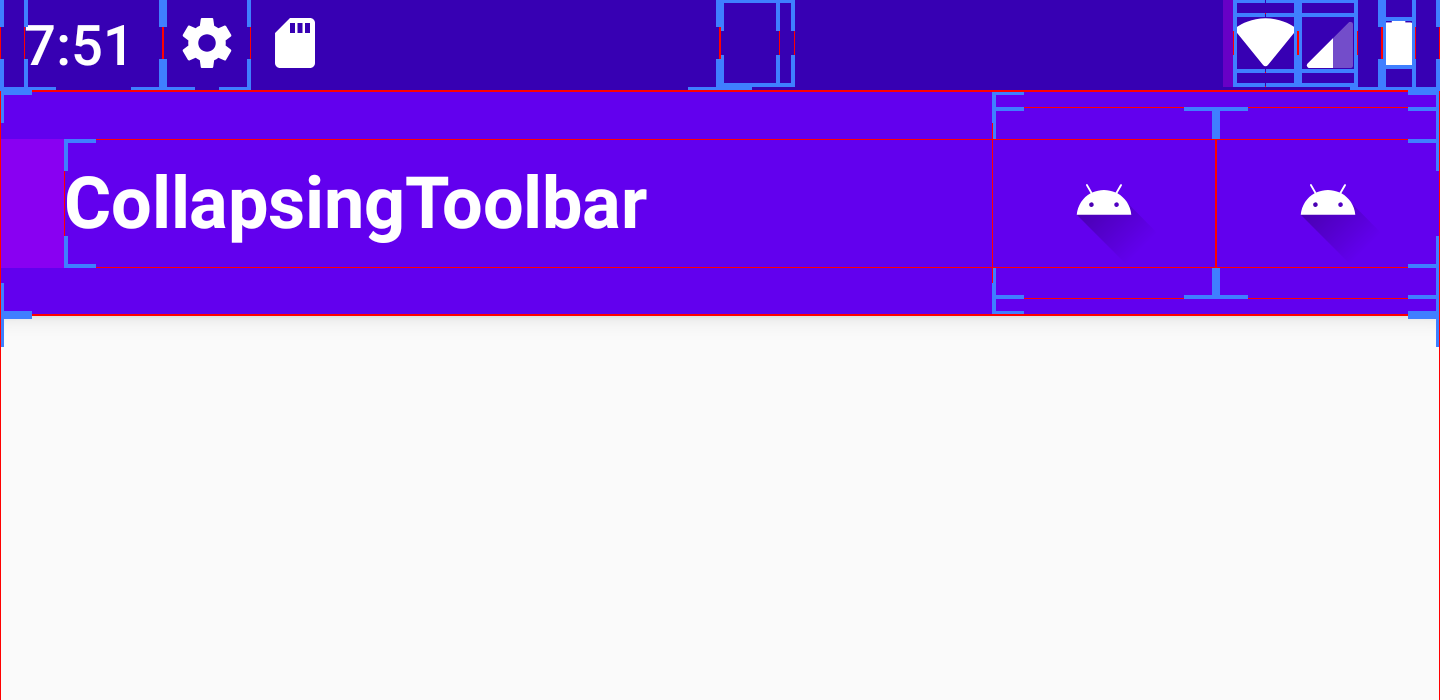
앱을 실행해보면 원하는 UI와 똑같은 UI를 확인할 수 있습니다.
| Expanded | Collapsed |
 |
 |
CollapsingToolbar로 만들 수 없는 부분이 있듯 MotionLayout을 통해서도 변경할 수 없는 부분이 있습니다. 위 예시에서도 MotionLayout으로는 타이틀의 textAppearance를 변경할 수 없어서 scale을 사용한 것을 볼 수 있습니다.
하지만 원하는 UI를 만들었으니 만족합니다. 상황에 맞는 적절한 layout을 사용하세요~
Comments